Pages

Sunday, 18 August 2013

PORK AND VEGETABLE CASSEROLE

Good Morning to you,


Recently we have baked quite a few deliciously rich cakes and desserts and  as lovely as they are, I thought it time that I shared one of my simple everyday recipes with you.  A dish that is easy to prepare, then placed into a casserole dish, popped into the oven and forgotten  about for  an hour or so.

Do you like the sound of that?  I thought you might, so today we are going to make,


a Pork and Vegetable Casserole..... now that does sound a little healthier doesn't it.

So let us begin, it's on with the apron and the music I am listening to today is,


Norah Jones..... Feels Like Home.  Norah's music is soothing and perfect for when a day is just floating by, as this music puts you in a very good place. You can often here me singing along to "Feels Like Home".


INGREDIENTS


1 large onion
4 carrots
2 sweet potatoes


1 or 2 cloves of garlic dependent on your taste


1 tin of Passata
 or 
1 tin of tomatoes
or 
2 or 3 fresh tomatoes chopped.
Whatever you have in your store cupboard

8 new potatoes


4 pork chops


Olive oil about 2 tablespoons


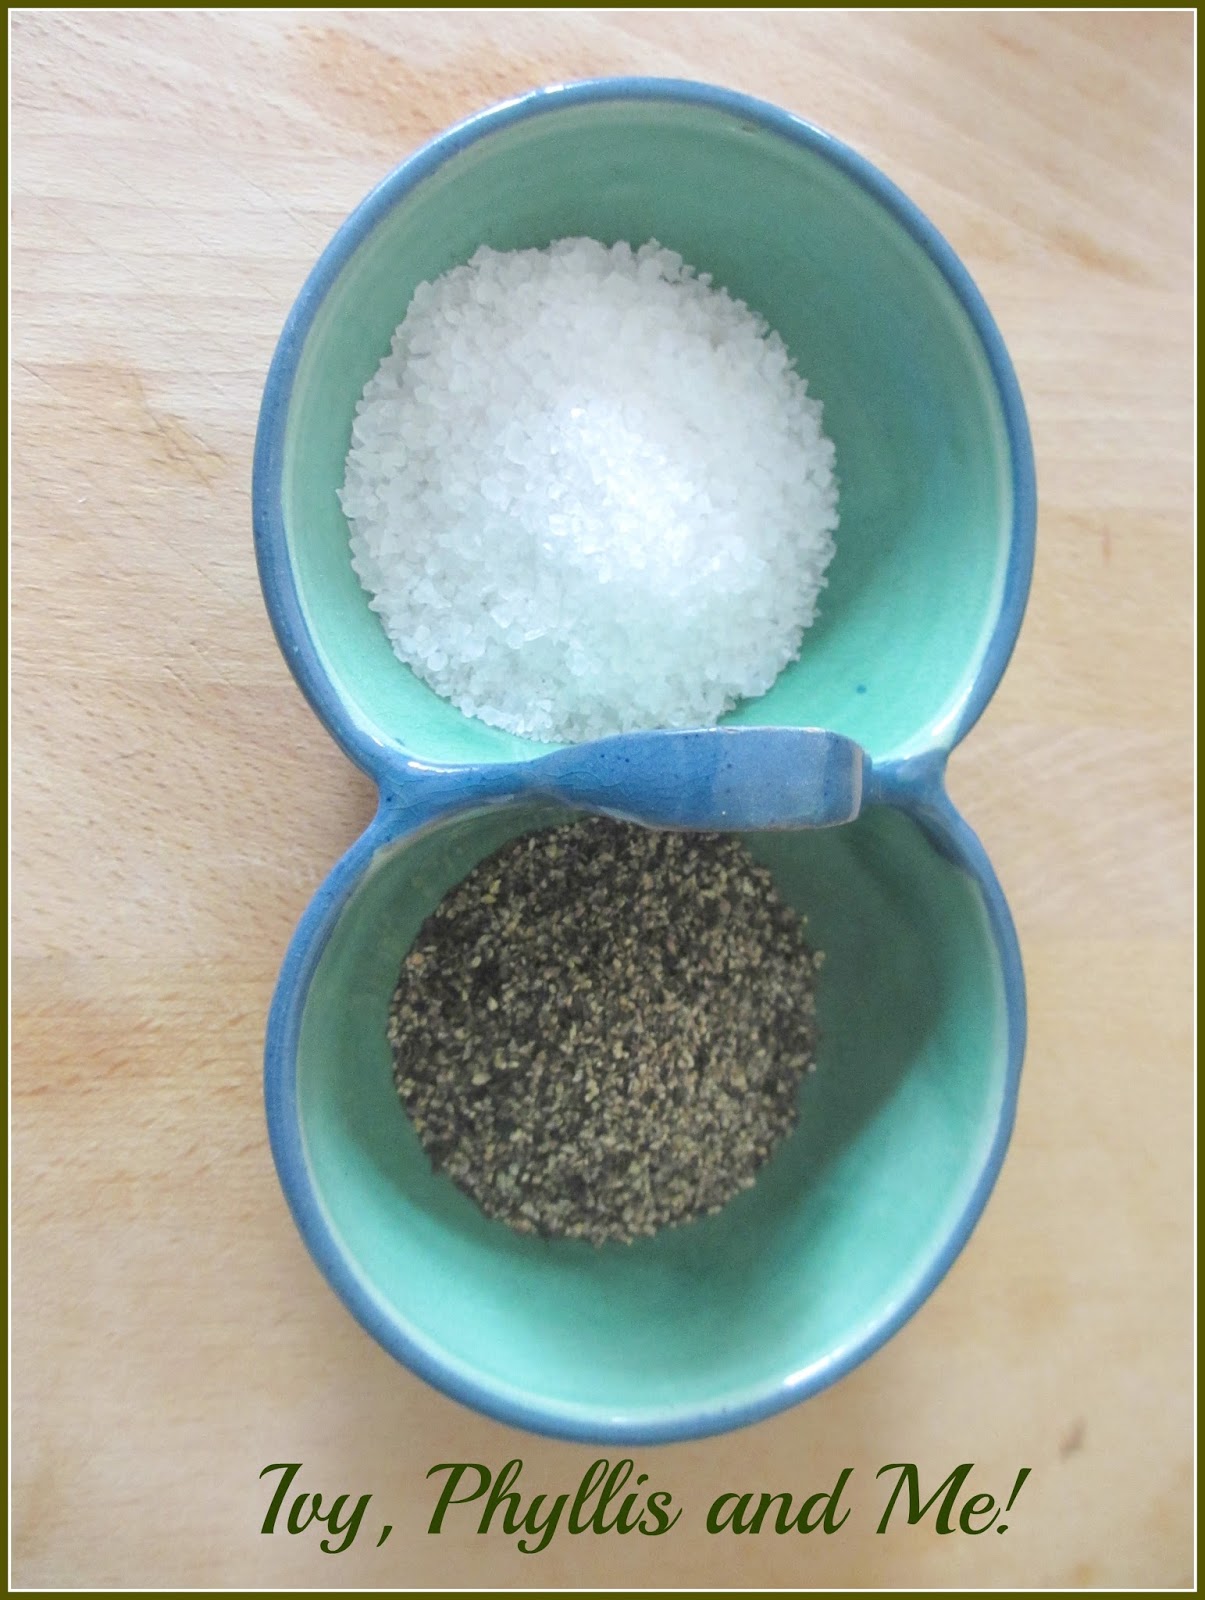
Sea salt and freshly ground black pepper


Gently brown the onions in  olive oil


When browned add the grated garlic
and cook for a minute


Chop the carrot and sweet potato into chunks
and add to the onion and garlic to
coat with olive oil


Cut the new potatoes in half and
add to the pan 


Add the Passata


Add a cup of water or if you prefer
a cup of stock


Whilst waiting for the tomato and vegetables
to heat through,


season  each side of the pork chop with
sea salt and black pepper, then
brown the chops in a separate pan.


Using a casserole dish,
layer some of the vegetables and tomato sauce
at the bottom of a casserole dish
then add two of the pork chops,


continue layering until you are left
with vegetables and tomato sauce on the top
of the casserole


Place the lid on the casserole dish
and place the casserole dish onto a baking tray,
this makes it easier to remove from the oven

Bake for 1 hour or until the vegetables are tender


...... and there you have it a delicious all in one supper.

This is a dish which is made up of vegetables I have left at the end of the week.  This week I had some spare carrots, sweet potatoes and new potatoes left in the vegetable tray.  This recipe isn't really about precise measurements, although I have recorded them for you, so that you can get an idea of the amounts.

Sometimes I will leave out the potatoes and add butter beans which we love...... and sometimes I leave out the pork chops and add sausages.

This is a simple recipe, as it is such a good way of using up those few vegetables which are left in the cupboard, but believe me this is not simple when it comes to taste as it makes  for a lovely supper.

Take care and I will see you later in the week.

This week I will be joining,


and
and


Wednesday, 14 August 2013

BANOFFEE CHEESECAKE

Good Morning to you,


I   love   magazines,   I  have   magazines   from  Cyprus,  America, Canada,  India, Australia and England. I can keep a magazine for many a year, then pick it up and enjoy reading it again as if it were the first time..... is that my age,  mmm I wonder?


I was flicking through an old Good Housekeeping magazine and I came across the recipe, which I am going to make today, how could I have missed it first time round.  Well I am certainly going to remedy that situation because take a look, 


doesn't it look scrummy.


So without further ado, it  is  on with  the apron and the music I am playing today, is music I have loved since the first time I heard this lady   sing  on   the radio  in 1975...  Joni Mitchell.  Do you know, I could not choose one song which I love more than  another,  I  love the  whole  album.... yes, I  even  have  the  vinyl  record,   which I cannot bear to part with. I played this album so often when Natasha and Danielle were little girls that they grew up listening to Joni and they both love her music as well.

INGREDIENTS

THE BASE


100g (3 1/2 oz) butter
plus a little more to butter the baking dish
200g (7 oz) digestive biscuits


Butter and line the base of a 9" round spring form tin with
 baking parchment


Finely crush the biscuits in a food processor


Slowly melt the butter in a saucepan


Mix together the butter and crushed biscuits


Place the biscuit mixture into the base of the baking tin
 and press firmly.
 Bake in an 180 C (160 C fan) Gas Mark 4 oven for 15 minutes
set aside until needed

Turn the temperature of the oven down to
170C (150 C fan) Gas Mark 3

INGREDIENTS FOR THE FILLING


2 small very ripe bananas, about 150g (5 oz) peeled
500g (1 lb 2 oz) full fat cream cheese
200g (7 oz) caster sugar
1 1/2 tablespoons of plain flour
1 teaspoon of vanilla extract
2 medium eggs


Place the cream cheese, bananas
and sugar into a food processor
and blitz until smooth.


Add the Vanilla Essence and the yolk of the two eggs
and blitz again until smooth


Add the flour and blitz again until smooth


Place the banana mixture in a large bowl 
and set aside for a moment


Place the 2 egg whites into a large bowl
and whisk until the egg whites form soft peaks,
then


fold the egg whites into the banana mixture
using a large metal spoon


Pour the mixture onto the biscuit base and 
shake gently to level.

Bake for 50 minutes or until the cheesecake is lightly
golden, the filling will be wobbly, but firms up on chilling.

Leave to cool for 15 minutes then run a knife, dipped
into hot water, and dried, around the side of  the cheesecake
to release it from the tin.

Leaving the Banoffee Cheesecake in the tin, 
chill for at least 2 hours or overnight


THE TOPPING


3 tablespoons of caramel sauce
25g (1 oz) plain chocolate grated


Heat the caramel sauce gently in a saucepan,
then when warmed, the caramel will pour
beautifully over the Banoffee cheesecake.

Using a spoon, dip into the warmed caramel sauce
and allow the caramel to drizzle  from the spoon
onto the cheesecake.
The final flourish is 
grated chocolate


In the directions that Good Housekeeping suggested, they said, when the cheesecake was baked and taken out of the oven, "working quickly, remove the cheesecake from the oven and run a small knife around the side of the cheesecake to release it (this should help minimise cracking). Leave to cool for 30 minutes then chill for at least 2 hours or overnight".

I am sorry, I did not have the courage to release the cheesecake from the tin straight after baking, so I waited 15 minutes. As you can see this worked fine.


This Banoffee cheesecake tastes as lovely as it looks.  I have never baked the base of a cheesecake before, but do you know, this is going to be the only way I am making the base from now on, it was a triumph. Baking the base gave it a much lighter texture.

The added bonus is this cheesecake can be frozen after it has been baked.  Leave it to cool whilst still in it's tin, then wrap with clingfilm and freeze for up to a month.  To serve, allow the cheesecake to defrost completely in the fridge, then unwrap and add the caramel and chocolate topping.

So thank you to Good Housekeeping as they have changed my way of making cheesecake bases and I know the same will apply to you once you have baked this Banoffee Cheesecake.  I have to say they are my favourite magazine.

My resident taster, George, was very happy indeed with this Banoffee Cheesecake and he said, if this is what I find in my old magazines, he will never throw another one away again.... do you know, I didn't know he threw any away, I must admit I never missed any of them. When I quizzed him he admitted that if I leave a magazine lying around for a while, he throws it away, he said it is a form of culling, as he knows how hard it is for me to part with magazines..... well I never..... he knows me so well.

Take care and I will see you later in the week.


Sunday, 11 August 2013

PRESERVED LEMONS

Good Morning to you,


Last week I mentioned that I would be making some preserved lemons as my stock is running low..... well I am actually down to my last preserved lemon.

Preserved lemons might be something which you are not familiar with, but preserved lemons are used a great deal in Moroccan cooking, where they form an integral part of the flavouring of a traditional tagine.

There are a number of ways to preserve lemons, they can be preserved in lemon juice,  they can be pickled  in brine or you can even boil the lemons in brine and preserve them in oil.

Bay leaves and peppercorns can be added, but I prefer to make mine the traditional Moroccan way, which is to salt them and preserve them in lemon juice.


So let us begin.... it's on with the apron and the music I am listening to and thoroughly enjoying is,  


Dusty Springfield.  I used to listen to Dusty Springfield when I was a teenager I loved the songs "I Only Want To Be With You" and "I Just Don't Know What To Do With Myself" do you know, I still love listening to her music today.

INGREDIENTS


6 teaspoons of sea salt
please do not use table salt


5 large thick skinned lemons
plus
6 more lemons to juice


1 large Kilner jar, washed and sterilized in your normal way.


1 wooden skewer cut in two

METHOD


Wash the lemons and then dry them
then remove the stem


Cut each lemon into quarters, but do not cut right through,
cut so that the lemon still holds together


Ease the lemon slightly apart and
sprinkle the lemon with a teaspoon of sea salt,
then repeat and
 salt the other four lemons


pack them, one by one into the  sterilized jar


press the lemons into the sterilized jar so they are packed
together, sprinkle with the final teaspoon of salt,
then close the jar


Leave for six days and you will notice that the lemons 
have released some of their juices.
This was the juice released after two days,
shake the jar every couple of days,


and this is the juice released after 4 days.
At this point you will find the skins have softened a little .


JUICE  SIX LEMONS


plus


Six lemons

It is always hard to know exactly how many lemons
you will need to juice, to cover the preserved lemons,
 as it depends on how much lemon juice each lemon yields.
I thought four lemons would be enough, but I  found I had to 
juice two more.
So always keep a couple of lemons in reserve.


On the sixth day, open the kilner jar and you will hear 
a slight hiss.


Add the lemon juice to the jar, then press the
lemons down as much as you can, making sure
the lemons still hold their shape.
This masher is from India and it is perfect
for the job, but a potato masher is fine to use.


Place the cut wooden skewers crossways into the
 jar to hold down the lemons. 
The wooden skewers need to be a little
larger than the neck of the jar to keep the lemons
submerged in the lemon juice.
You will have to press hard to make sure the
skewers sit above the lemons


Replace the lid and store in a dark cupboard for at least 
a month.  I tend to leave them for five to six weeks
as the longer they are left, the better the flavour.


Remember the lemons which we juiced, well do not
throw the skins away.  Grate them to use on another day.


Place the grated rind into an ice cube tray.  I add a teaspoonful of grated rind to each cube, so when I need to use
the lemon rind in the future, I know what weight
each cube is, 
then place in the freezer until needed.

Look..... I even have heart shaped ice cube trays,
 how fabulous is that.


When the preserved lemons are ready, they will have reduced in size quite a bit, but don't worry about how they look, as I grant you, they are not the prettiest lemons to look at, but the flavour is superb. When cooking with the preserved lemons the salt is washed away and the pulp is removed.  Only the skins are used.

I mentioned that preserved lemons can be added to tagines, but strips  of preserved lemon can also be added to lamb or chicken dishes.  You will find that the flavour is quite mild and sweet, despite the salt which has been used to preserve them.  These little lovelies will keep for about six to nine months.

So in six weeks time, you will see these preserved lemons in their new guise and we will cook a recipe together...... you will not be disappointed.

Take care and I will see you later in the week.

This week I will be joining,

and


Related Posts Plugin for WordPress, Blogger...