Pages

Showing posts with label Jam Chutney and Marmalade. Show all posts

Sunday, 13 July 2014

PICKLED CUCUMBERS WITH OLIVE OIL

Good Afternoon to you,


I have to tell you, there is a new diva in this house.

..... and the diva is in the kitchen..... no I am not talking about myself, I am talking about George.

George has decided that after all these years, he would like to learn to cook... but  he never cooks... he enjoys eating, but has never shown any interest in cooking, well apart from the times he cooked using an open fire.

.... but now, he has decided he would like to learn to cook using a conventional cooker.

... and he has requirements.

He has asked for his own apron..... which is fine, but the apron has to have certain additions.  He would like a circular loop attached to the apron, so he can tuck a tea towel into the loop, and when I asked why he wanted to use a tea towel, he said because he had seen chefs on the television use them and he felt it would be a useful item. I think this is strange as I have never felt the need to use one.

I have also been told, he will not be calling it a pinnie as the word pinnie does not sit well with him.

Oh yes and the apron must have a large pocket in the front.... not sure why, but this is what he wants.

So in the near future, under his strictest of guidelines,  I will be making an apron for him.

So while he is waiting for his apron, he is using my older butchers pinnie.... oops, sorry, apron.  The first meal on his list, is his favourite.... a Sunday breakfast.

So with his first Sunday breakfast under his belt, the diva has emerged.  I  have to sing his praises, not once, not twice but with every mouthful of food I eat.  I have to tell him how wonderful the food is, how it tastes and yes, that I am really enjoying it. I have to listen to how each part of the breakfast was made...... I can't help but wonder if he has forgotten that it was me who taught him how to make the breakfast in the first place, but somehow I think he has forgotten that little fact.

Now, I really don't mind teaching George how to cook, but my concern is, what will he want to learn to cook next.....I am hoping it will be nothing too involved, but I have a feeling it will be.  I am really hoping that this is  a 'flash in the pan' (sorry about the pun). If not, I think I have  a really interesting time ahead of me.... mmm, I wonder if I can divert him with some woodwork?

So the breakfast, has been eaten.... and duly praised. The dishes have been washed and put away and George is reading the newspaper, so whilst all is quiet,  I have decided to make,


some pickled cucumbers with olive oil.  They are lovely eaten with bread and cheese or mixed into a salad and they can be stored for a year.... but that never happens in this house as once the storage time has past by, they are usually eaten, by George, within three months.  I do not make a lot of pickled cucumbers, but enough to fill a 1 kilo kilner jar.

So it's on with the pinnie and the music I have chosen to listen to is,


Lionel Richie.  Natasha asked me once who I would like to see in concert and my answer was Barry Manilow and Lionel Richie.  I love 'All Night Long', 'Dancing on the Ceiling' and 'Hello'. To be honest, when it comes to Lionel, the list of songs I enjoy listening to are endless.

So whilst I am listening to 'Sail On', I will organise my ingredients.

Before we start, I wanted to let you know, that this is a two day process.  One day to soak the cucumbers and onions and the second day to complete the pickling.

INGREDIENTS

750g cucumbers
(approximately 2 large cucumbers)
625g onions
75g sea salt
500ml cider vinegar
80ml water
1 teaspoon crushed coriander seeds
1 teaspoon of whole black peppercorns
4 dried bay leaves
10 very small dried chilli peppers
75ml olive oil

1 kg kilner jar 
(sterilized in your normal way)

HOW TO MAKE
PICKLED CUCUMBERS
WITH
OLIVE OIL

THE FIRST DAY


Top and tail  two cucumbers
and 
finely slice.


Remove the skin
and 
finely slice
the onions


Place the finely sliced cucumbers

and


the
finely sliced onions


in a large bowl
and
cover with water.


Add the sea salt
and stir.


Cover the bowl with a plate
to make sure the cucumbers
and onions stay submerged.
Then cover with a tea towel.

Leave over night.

THE SECOND DAY


Place the cider vinegar,


the bay leaves,


the
crushed coriander seeds,
the
black peppercorns,


the dried red chillies

and


the 
water
into a non-corrosive saucepan.
Bring to the boil
and simmer for 10 minutes

Whilst the cider vinegar is simmering,


drain the cucumbers and onions.
Rinse in cold water
then


using a colander, 
remove as much liquid as possible.


Ladle the cucumbers and onions
into a sterilized kilner jar.

Once the cider vinegar 
has simmered,
allow to
stand for 10 minutes
then


whisk in the olive oil


and ladle the
vinegar into the kilner jar.

When the cucumbers and onions
are covered, seal the jar
and place in a cool cupboard for 
at least 3 weeks.

The reason I have made these pickled cucumbers today is I was gifted a couple of cucumbers.  George and I would not have been able to eat both of them, so I decided to pickle them instead, as this way, the cucumbers will last much longer.

Oh and just before I go, I have been talking to George about some birdhouses and bug houses which I would like him to make..... and yes, he is going to make some for the garden.  Phew, that was a narrow escape.

Take care and I will see you on Wednesday.

This week I will be joining,

and


Wednesday, 19 February 2014

RED TOMATO CHUTNEY

Good Morning to you,


I was chatting to a friend recently and we were discussing convenience foods.  I mentioned that I  make all our daily meals, because I like to know the ingredients which go into our food. My friend mentioned, that she would much prefer, to buy tins of soup and jars of sauces, as that allowed her more time to do the things which she enjoyed.

I asked, what about the cost of processed foods, as I feel it can be more expensive to buy these products.  But she did not agree with me, she felt the extra money she paid was worth the extra time she gained.

I have to admit, I was surprised by her answer, but when I sat down and thought about it, I could understand her point of view.  I appreciate that I am retired now and I have plenty of time in the day to cook, but I also feel I save money and eat more healthily by cooking our meals each day.

I cannot imagine living on convenience food, as when I have eaten these foods, I find the salt content is much too high.  I find that during the evening and night time, I need to drink plenty of water, I can drink a large tumbler of water before I go to bed.... I know that is not good, but I do sip it.  I also have to place a tumbler of water on my bedside table because I will drink that during the night as well.

Please don't think I am criticizing, because I believe, each to their own, but I do feel with a bit of organisation, meals can be organised ahead of time. 

For instance, Danielle works full time and long hours, so each Sunday, Danielle and Daniel (yes isn't that wonderful, we have our daughter whose name is Danielle and her partner is called Daniel) have a Cookathon and cook meals for the week. They place portion sizes into the freezer, so that when they arrive home, after a long day at work, they have meals ready which they can enjoy..... admittedly, the only thing to remember, is to place the food into the fridge to defrost overnight.

I did the same when I worked, but I also used my slow cooker a lot. I would prepare the food before I went to work, pop it in the slow cooker and when we all arrived home the meal was ready.

How do you feel about convenience foods, do you use them as an addition to your home cooking or do you prefer to use them more often so that you can free up your time?

For myself, I just know that when I eat well, I feel well.

So, onto today's cooking.  I love Chutney's and today we are going to be making,


Red Tomato Chutney.  Ivy used to make chutney's with vegetables which Gramps grew in their allotment.  She also used the ingredients which were available to her, at the time, such as malt vinegar and pickling spices. 

I am using Ivy's recipe, but I am not using malt vinegar, I am using red wine vinegar.  Ivy also used pickling spices tied up in a muslin bag, but I have decided to add garlic and chilli flakes instead.

If you could see the instructions in Ivy's book, you would smile, as there are only four small lines of instructions.... ladies obviously knew what they were doing in those days and did not need the many instructions, which are written in our present day cookery books.

So without further ado, it's on with the pinnie and the music I have chosen to listen to today is,


Kirsty MacColl.  I love her music, but the titles of her songs are fabulous as well.... listen to "There's A Guy Works Down the Chip Shop Swears He's Elvis" and "Don't Come the Cowboy With Me Sonny Jim".  Listen to "Miss Otis Regrets" ... I just know you will enjoy it. 

It is time to organise my ingredients.  You will need,


INGREDIENTS

1.5 kg red tomatoes
2 medium sized red onions
2 red eating apples
350fl oz red wine vinegar
150g Molasses natural unrefined cane sugar
3 cloves of garlic
1 teaspoonful of  sea salt (to crush garlic) 
1 teaspoon of chilli flakes
1 tablespoonful of olive oil

Sterilize 2 x 1/2 litre Kilner jars
using your usual method.

HOW TO MAKE
RED TOMATO CHUTNEY


Place the tomatoes in a heat proof bowl
and
cover with hot water.
Leave for 5 minutes.
This process will allow the skins to be
easily removed.


Remove the tomato skins

then


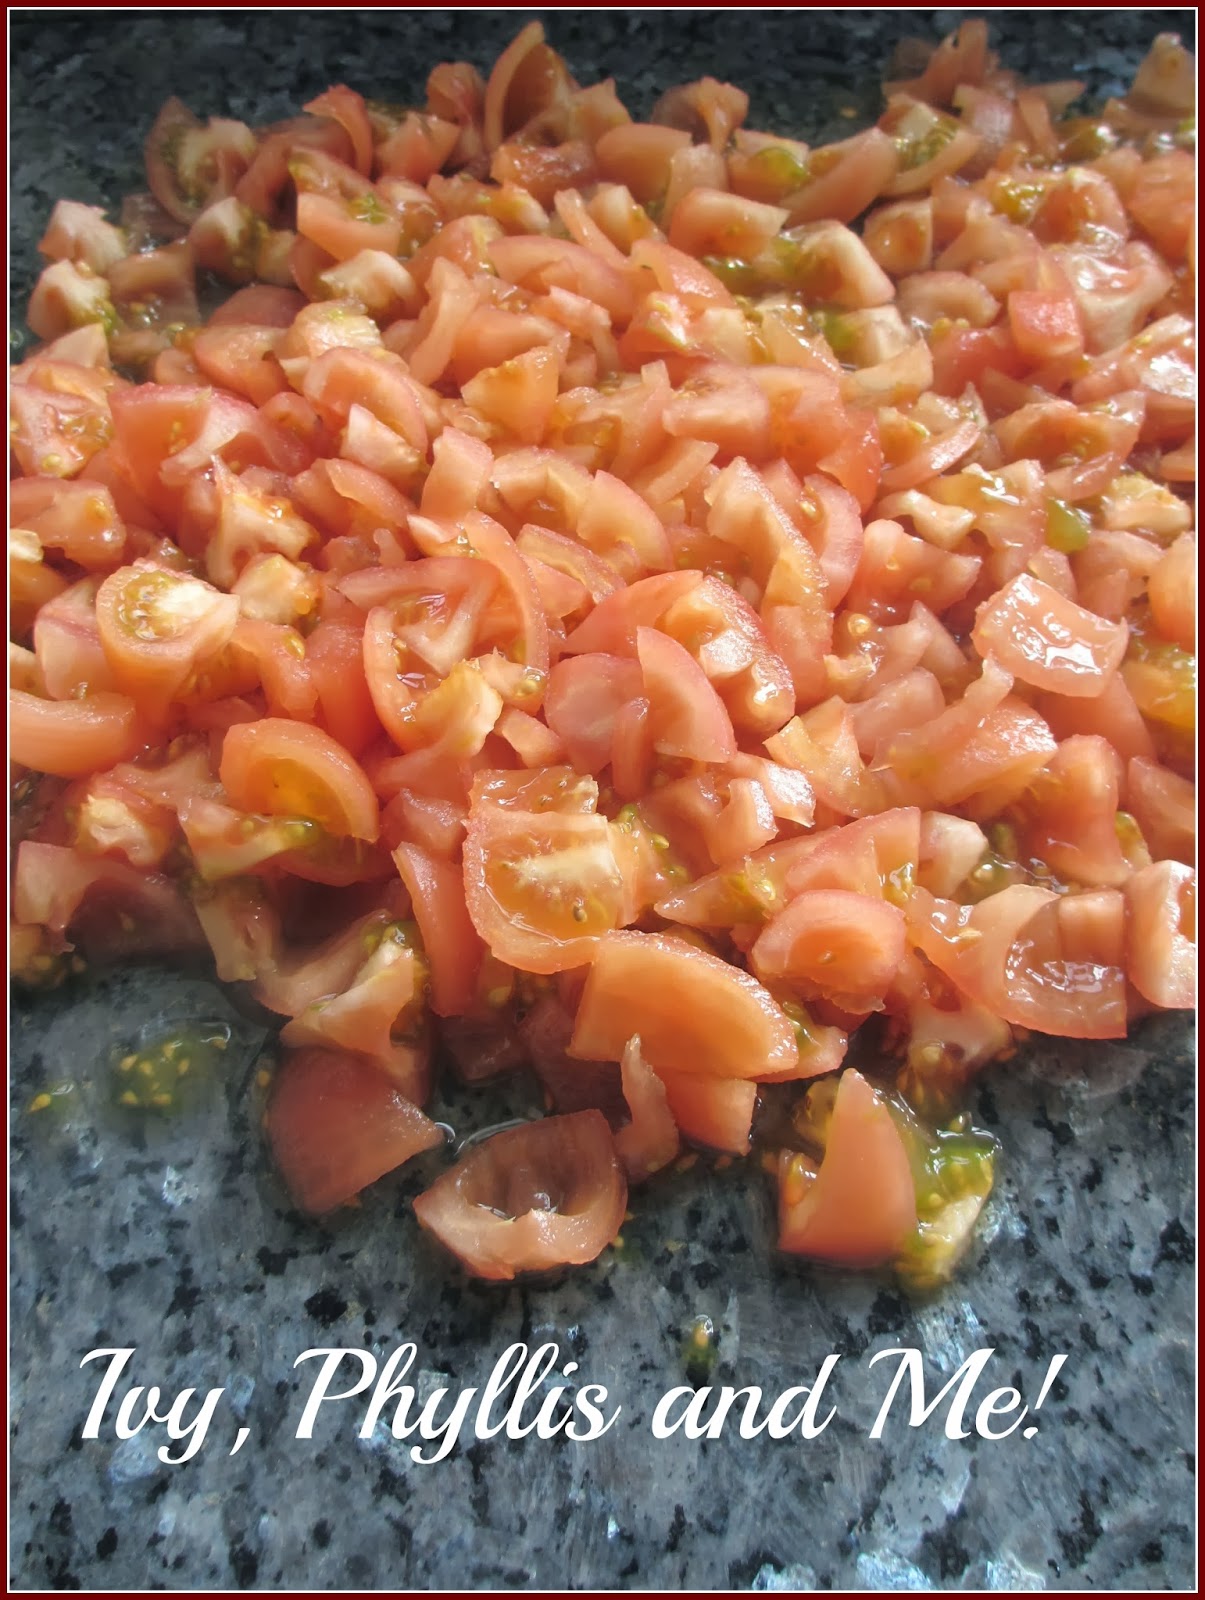
coarsely chop the tomatoes
and
set aside for a moment.


Finely slice the onions
or if you prefer
finely chop the onions into small pieces

and 

add 1 tablespoonful of olive oil into a pan
and saute the onions until they are translucent.

Whilst the onions are cooking,


Peel, core and chop the apples
into small pieces
and set aside.
(If you do this too far ahead, make sure
you add lemon juice to the chopped 
apples to stop them from turning brown.)


Crush the garlic with 
1 teaspoonful of sea salt
and
add to the onions.
Cook for a minute


then 
add 1 teaspoonful of chilli flakes
and cook for a further minute or so.


Add the chopped tomatoes to the pan
and
the chopped apples.
Place the lid on your pan
and once the mixture is hot,
reduce the heat and cook until the 
tomatoes are soft.


I often find that there are some rogue tomatoes
which do not cook down, so I
use a masher to deal with
these stubborn tomatoes.


Add the red wine vinegar
to the pan

and


also the sugar.

Keep stirring the chutney until the sugar dissolves

then

simmer without a lid for about 30-35 minutes
or until all the liquid has evaporated.
You want a thick consistency.

Please don't leave the kitchen, I tend to get on with
other things... like washing up, as the chutney
needs stirring every few minutes or so.
You will find as the chutney reduces, it has a
tendency to stick to the pan.

Towards the end of the cooking process,
be careful when you stir the chutney,
as the chutney has a tendency to "spit".


Place the chutney into hot sterlized Kilner jars,
and then seal.

Store in a cool place.
Leave for a month or so, to allow the flavour to enhance.

I have a shelf in our garage which I use
during the winter,
as with the cold weather this makes
it ideal for cold storage.

When the Red Tomato Chutney is ready, you will have a delicious addition to a sandwich..... George spoons this Red Tomato Chutney onto hamburgers whereas I love it added to a cheese wrap.

You may have noticed that I did not remove the tomato seeds.  We really don't mind the seeds in the chutney, but if you prefer, before you chop the tomatoes, remove the seeds.

Enjoy my variation to Ivy's Red Tomato Chutney.

Take care and I will see you on Sunday.


Sunday, 19 May 2013

LEMON CURD

Good Afternoon to you,


It has poured down with rain all day, but I am determined not to be down hearted, as today, my thoughts are turning to sunnier climes. I am going to be transported back to the warmth of Cyprus and in my mind, I am going into the garden to pick lemons from my lemon tree. Then,  I am going to turn them into Phyllis' Lemon Curd.

In truth, I have collected the lemons from my fruit bowl, but it is alright to dream. I have gathered together the jars. They have been sterilised and now they are ready to be filled with  luscious, yellow, lemon curd,


Pop your apron on and let us begin,

THE INGREDIENTS


3 large, unwaxed lemons
2 1/2 oz  (70g) butter
7 oz  (200g) sugar
3 large eggs

THE METHOD


Wash, then dry the lemons


Finely grate the rind from the lemons


Juice the lemons


and strain the lemon juice.

Half fill a pan with water 
and bring to the boil

Choose  a bowl which will sit on top
of the pan but will not touch the
simmering water.

Place the strained lemon juice into
the bowl,


add the butter,


and the sugar.

Stir over a low heat until the sugar has
dissolved.

 Remove from the heat.


Whisk the three eggs together in a medium
size bowl.

Very slowly, 
pour the lemon mixture into
the whisked eggs.
  
I found adding a ladle at a time worked well,
 but it is important that you keep stirring
 whilst adding the lemon mixture 
to the eggs, as you
do not want the eggs to curdle.

I ladled with my left hand
and stirred with my right hand.


Return  the lemon mixture to the original bowl.

Return the pan of water to the heat until
the water is just simmering. 

Place your bowl back
on top of the saucepan and keep stirring,


until the lemon curd coats the
 back of the spoon.

Just as a guideline,
it took me 10 minutes of  constant stirring
for me to achieve the result I needed.


Pour into a sterilized jar
and cover with a waxed disc.

Leave to cool before labelling and
covering with a lid.

Store in the fridge.


Now, I need to tell you, that you will need only one jar for this lemon curd, as Phyllis' recipe did not say how many jars of lemon curd the ingredients would make. I had four at the ready, and this proved too  many. Actually, I do not mind, as lemon curd does not have the same long life as jams, so this pot of lemon curd will be perfect for George and I. 


Remember the juiced lemons, well do not throw them away, cut them into quarters and add them to the water which is left in the pan, and bring to a simmer. Your kitchen will have a lovely, fresh, lemon smell.

Just a word of warning, only do this if you are staying in the kitchen, and before you leave the kitchen, remember to turn off the cooker.  As you do not want the  water to evaporate and burn.

I tend to have the lemons simmering when I am tidying up the kitchen.

Making this lemon curd was an interesting exercise as I found, I had to write out the instructions to make it easier for me to follow. When you read the recipe from Phyllis' cookery book the recipe and the method is about 1 1/2 inches by 2 inches in size, and in small print, making it difficult to follow the recipe.

Also, the information states that it takes 10-15 minutes to make the Lemon Curd, I realise I was taking photographs as I cooked, but it took me about an hour and 10 minutes.  I think the 10-15 minutes was the time it took once you had the eggs whisked together and the lemons juiced, grated and ready to use.

This jar of Lemon Curd has been tucked into the back of the fridge, where George rarely ventures, he tends to look for "scrumptions" to eat which sit at the front of the shelves, so I am hoping I can keep this jar until next week, because,

next Sunday I am going to be baking some scones and then I will be slathering them with this lemon curd, well that is as long as it stays hidden at the back of the fridge. 

As yet, I have not decided whether the recipe will come from Ivy or Phyllis' cookery book, so I am going to compare recipes.

So take care and I will see you later in the week.

This week I will be joining,


Related Posts Plugin for WordPress, Blogger...